Mortar Work as Part of Your DIY Home Projects

Mortar Work as Part of Your DIY Home Projects
Mortar is one of the most essential materials in home building and repair. It binds bricks, stones, and tiles together, seals joints, and gives strength and durability to structures. For many DIY enthusiasts, mortar work can seem a bit daunting at first, but with the right preparation and understanding, you can take on a wide range of projects yourself – from small repairs to larger improvements around your home or garden.
What Is Mortar – and When Do You Use It?
Mortar is a mixture of cement, sand, and water. Sometimes lime is added to make the mix more workable and flexible. The exact composition depends on the type of job you’re doing.
- Cement mortar is strong and suitable for structural work such as walls, foundations, and garden walls.
- Lime mortar is softer and more breathable, making it ideal for older Irish homes and stone cottages where the walls need to “breathe.”
- Tile adhesive or thin-set mortar is used for fixing tiles in kitchens, bathrooms, or on floors, where precision and adhesion are key.
Choosing the right type of mortar is crucial. Using a mix that’s too hard on an old stone wall, for example, can cause cracking, while a mix that’s too soft may not provide enough strength.
Læs også:
Preparation: The Key to a Good Result
Before you start, make sure both your materials and work area are properly prepared. Surfaces should be clean, solid, and free from dust, grease, or loose material. If you’re repointing existing brick or stonework, remove any old, crumbling mortar with a joint raker or chisel so the new mortar can bond well.
When mixing mortar, always follow the manufacturer’s instructions. Use a clean bucket and a mixing paddle or mortar mixer to achieve a smooth, even consistency. The mortar should be moist and workable – not too dry and not too runny.
A good tip is to mix small batches at a time, especially if you’re new to the process. Mortar begins to set fairly quickly, and you don’t want it hardening before you’ve used it.
Step-by-Step: How to Do Mortar Work
The exact method depends on your project, but the basic steps are similar:
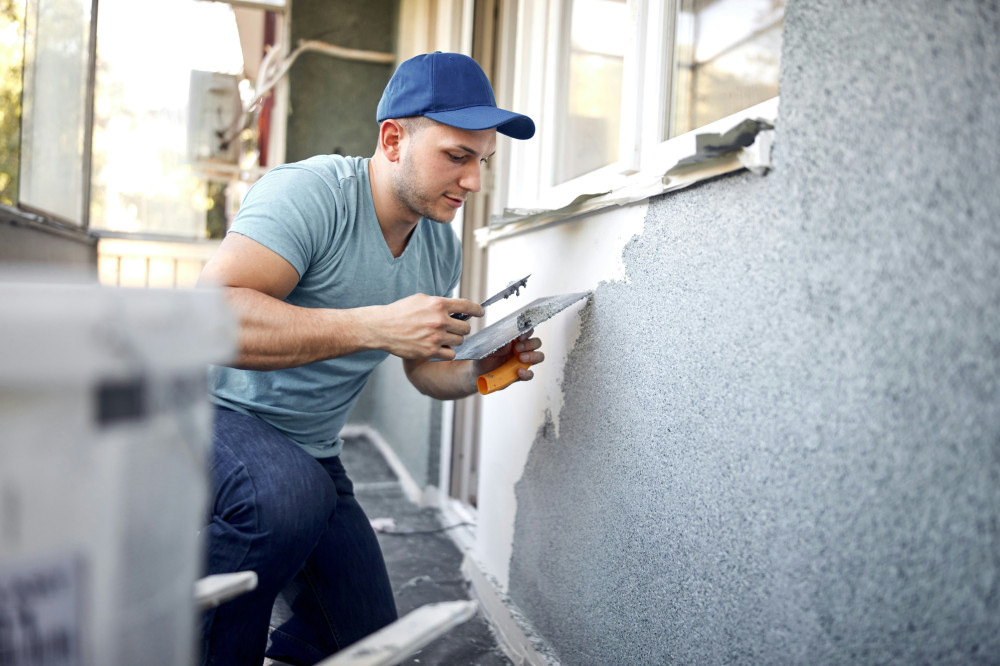
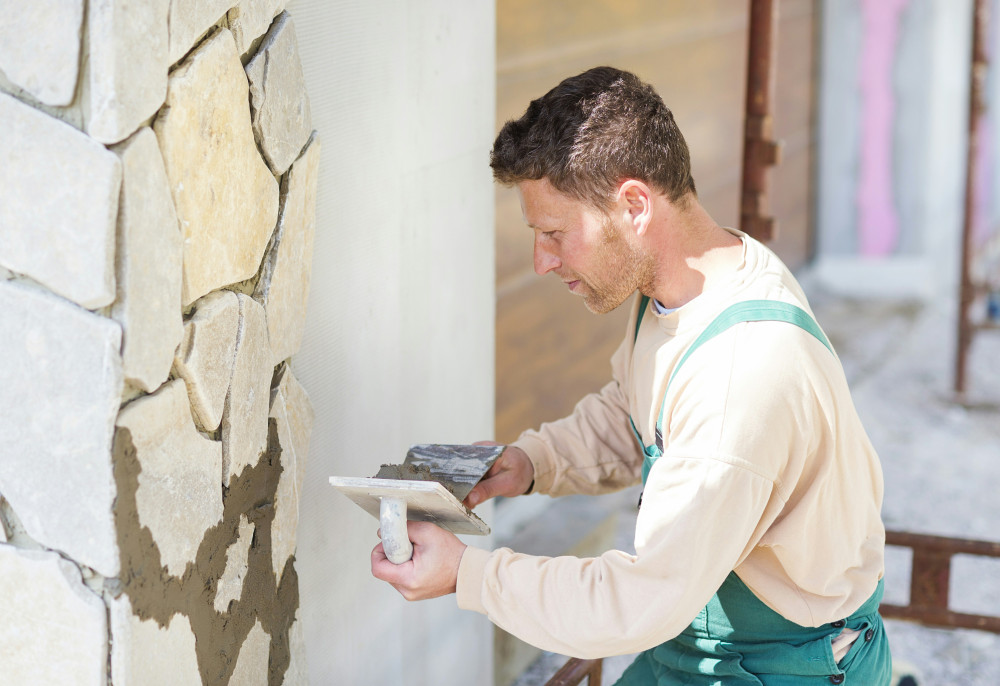
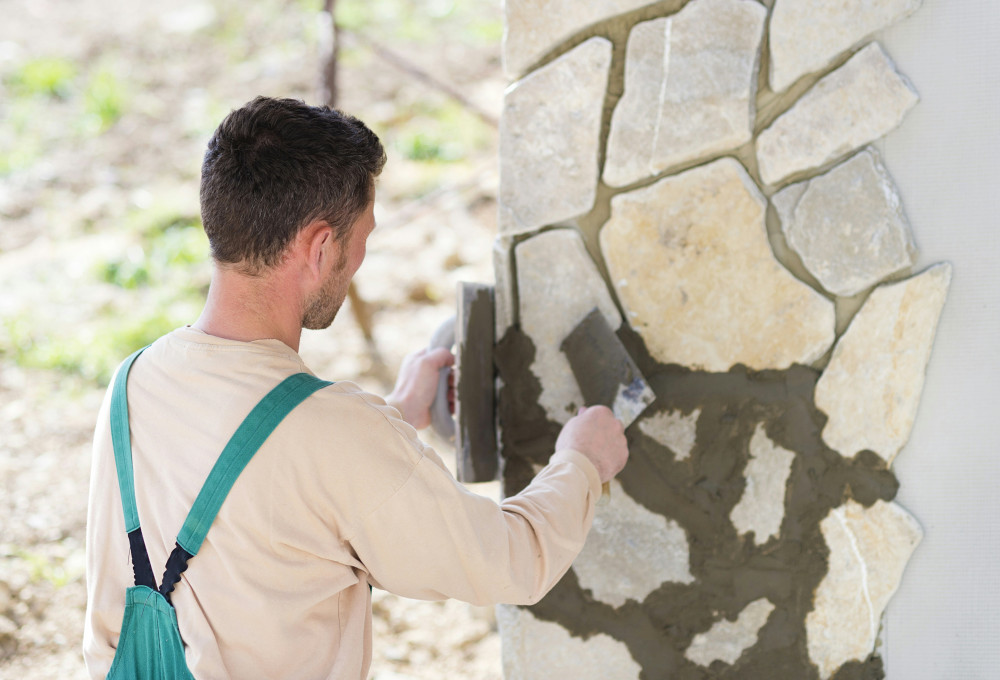
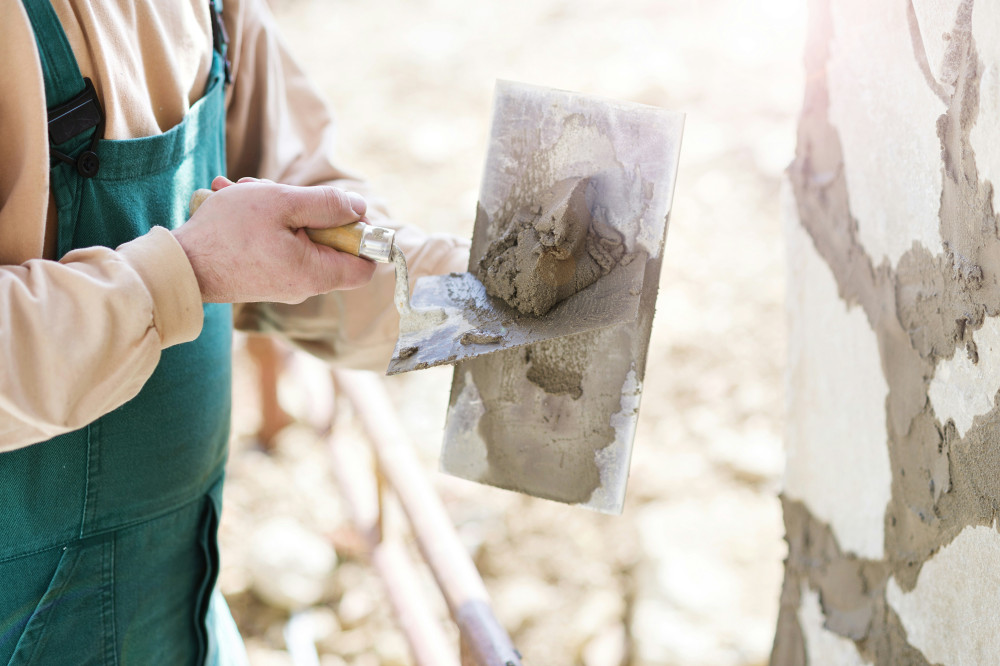
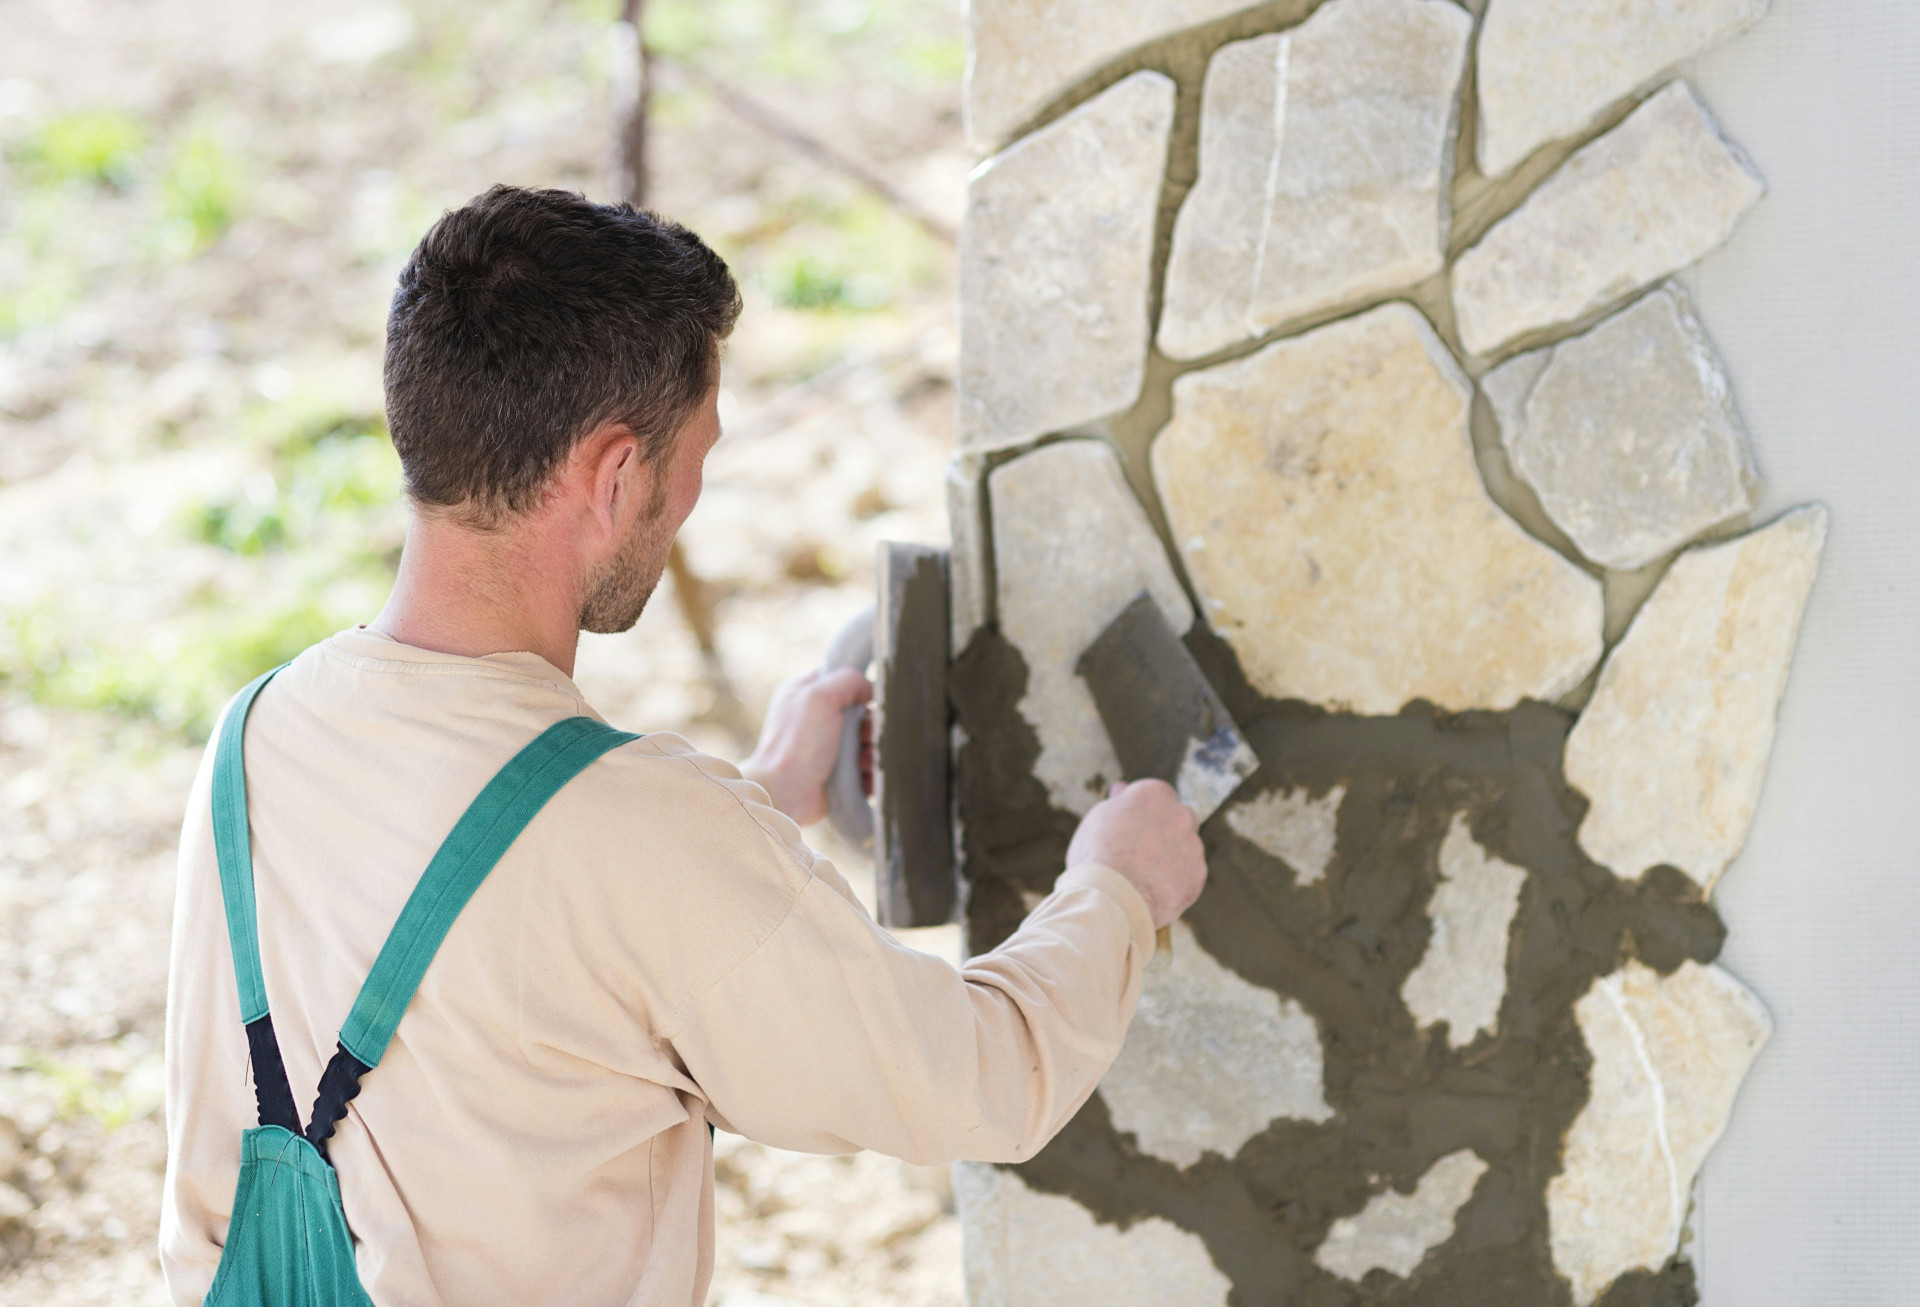
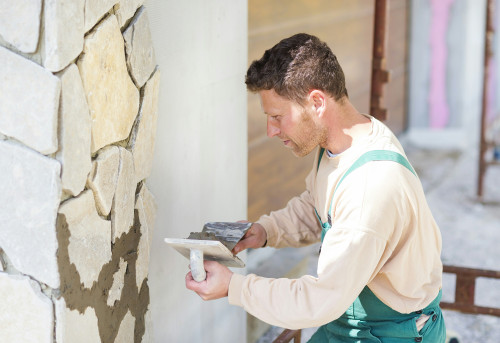
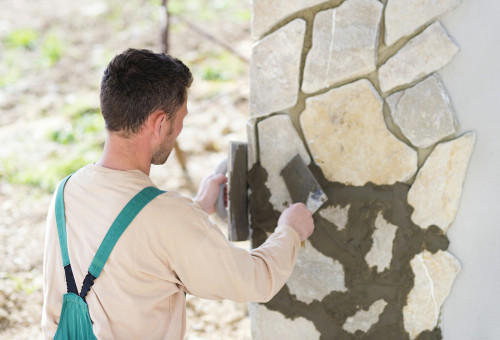
- Apply the mortar using a trowel or pointing tool. Press it firmly into the joints or onto the surface to avoid air pockets.
- Smooth the surface with your tool and remove any excess mortar before it starts to set.
- Finish the joints by shaping or smoothing them with a jointing tool for a neat, consistent look.
- Control the drying process. Mortar should not dry too quickly, as this can cause cracks. In warm or windy weather, cover your work with plastic sheeting to retain moisture.
For larger projects, such as building a wall or repairing a façade, it’s best to work in sections and allow each part to set properly before continuing.
Common DIY Projects Using Mortar
Mortar work features in many popular home and garden projects. Here are a few examples:
- Repointing brick or stone walls – helps protect your home from damp and improves its appearance.
- Laying tiles in bathrooms or kitchens – requires precision and the right type of adhesive mortar.
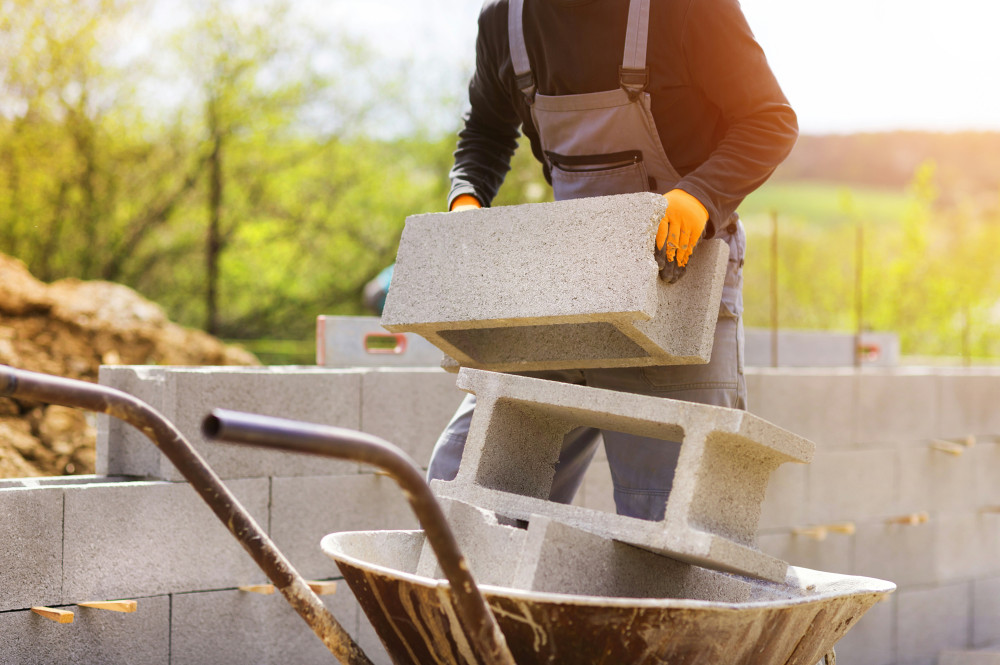
- Building small foundations – for sheds, patios, or fence posts.
- Constructing garden features – such as raised beds, barbecues, or decorative walls.
Whatever the project, take your time to plan and prepare. Good workmanship and patience will always pay off in the long run.
Safety and Maintenance
Mortar contains cement, which can irritate skin and eyes. Always wear gloves, safety glasses, and suitable work clothing. Avoid breathing in dust when mixing dry mortar, and make sure your workspace is well ventilated.
Once your project is complete, keep an eye on the mortar joints over time. Ireland’s damp climate and winter frosts can cause small cracks to appear. Repairing these early will prevent more serious damage later. A quick annual inspection of your brickwork or stonework is a good habit to develop.
A Skill Worth Learning
Mortar work takes patience and care, but it’s one of the most rewarding DIY skills you can learn. You’ll see the results immediately, and you’ll be adding strength and character to your home. Start with small repairs, build your confidence, and soon you’ll be ready to take on bigger projects with pride and skill.
Læs også: